


Top Pump Sprayer Repair Kits for Maintenance
- Oct 8, 2025
- 4 min read
Maintaining your pump sprayer is essential to ensure it works efficiently and lasts longer. Over time, parts can wear out or break, causing leaks or poor performance. Instead of replacing the entire sprayer, a repair kit can save you time and money. These kits come with all the necessary components to fix common issues and keep your sprayer in top shape. In this article, we will explore the best pump sprayer repair kits available, how to use them, and tips to prevent future problems.
Why You Need a Sprayer Repair Kit
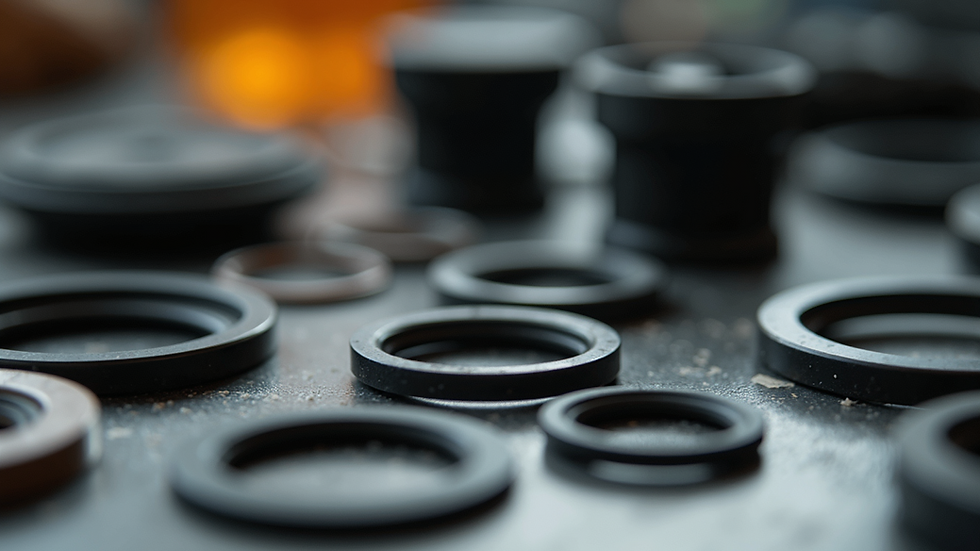
A sprayer repair kit is a collection of replacement parts designed to fix common problems in pump sprayers. These kits typically include seals, gaskets, O-rings, valves, and sometimes nozzles. Having a repair kit on hand means you can quickly address leaks, pressure loss, or clogged parts without waiting for new equipment.
Using a sprayer repair kit can:
Extend the life of your sprayer
Save money on buying new sprayers
Improve spraying efficiency and accuracy
Reduce downtime during important gardening or cleaning tasks
When choosing a sprayer repair kit, make sure it matches your sprayer model or brand. Some kits are universal, while others are specific to certain manufacturers.
Best Sprayer Repair Kits on the Market
There are many sprayer repair kits available, but some stand out for their quality, compatibility, and ease of use. Here are a few top options to consider:
1. BSE SprayIt Universal Pump Sprayer Repair Kit
This kit is designed to fit most common pump sprayers. It includes durable seals, gaskets, and valves made from high-quality materials that resist wear and chemical damage. The kit comes with clear instructions, making it easy for beginners to perform repairs.
2. Chapin 20022 Pump Repair Kit
Ideal for Chapin sprayers, this kit contains all the parts needed to fix leaks and restore pressure. The components are made to exact specifications, ensuring a perfect fit and long-lasting performance.
3. Hudson 85001 Pump Repair Kit
This kit is perfect for Hudson sprayers and includes replacement parts for the pump, valves, and seals. It is known for its reliability and ease of installation.
4. Solo 418 Repair Kit
Solo’s repair kit is tailored for their sprayers and includes high-quality replacement parts. It is especially useful for those who use their sprayers frequently and need a durable solution.
When selecting a kit, check if it includes the parts you need most, such as piston seals or check valves. Also, consider the type of chemicals you use, as some materials are better suited for certain substances.

How do I stop my pump sprayer from leaking?
Leaks are one of the most common issues with pump sprayers. They can occur due to worn-out seals, damaged valves, or loose fittings. Here are some practical steps to stop your pump sprayer from leaking:
Inspect the seals and gaskets - Over time, these parts can crack or become brittle. Replace any damaged seals with new ones from your repair kit.
Check the valves - Valves control the flow of liquid and pressure. Clean or replace valves if they are clogged or broken.
Tighten all connections - Loose fittings can cause leaks. Make sure all parts are securely fastened but avoid overtightening, which can cause damage.
Lubricate moving parts - Use a silicone-based lubricant to keep seals and pistons moving smoothly.
Test the sprayer after repair - Fill the tank with water and pump to check for leaks before using chemicals.
Regular maintenance and timely repairs using a pump sprayer repair kit can prevent leaks and improve sprayer performance.

Tips for Maintaining Your Pump Sprayer
Proper maintenance can extend the life of your sprayer and reduce the need for repairs. Here are some useful tips:
Clean after each use: Rinse the tank, hose, and nozzle thoroughly to remove any residue.
Store properly: Keep your sprayer in a cool, dry place away from direct sunlight.
Use the right chemicals: Avoid harsh chemicals that can damage seals and plastic parts.
Check parts regularly: Inspect seals, valves, and hoses for wear and replace them as needed.
Follow manufacturer instructions: Use recommended parts and follow guidelines for pressure and usage.
By following these tips and having a repair kit ready, you can keep your sprayer working efficiently for years.
When to Replace Your Pump Sprayer
While repair kits can fix many issues, there are times when replacing the sprayer is the better option. Consider replacing your sprayer if:
The tank is cracked or damaged beyond repair
The pump mechanism is severely worn or broken
Replacement parts are no longer available for your model
Frequent repairs become costly and time-consuming
Investing in a new sprayer may be more economical and safer, especially if you use it for applying chemicals regularly.
Final Thoughts on Sprayer Repair Kits
A good sprayer repair kit is an essential tool for anyone who relies on pump sprayers for gardening, cleaning, or pest control. It allows you to fix common problems quickly and keep your equipment in excellent condition. By choosing the right kit and performing regular maintenance, you can save money and avoid frustration.
Remember to always follow safety guidelines when handling chemicals and repairing your sprayer. With the right care and tools, your pump sprayer will continue to deliver reliable performance for all your spraying needs.
Comments